Application Details is used to maintain a record of those customers who have submitted applications. Business unit for which the application is being made, and the preferred unit can be entered here. If the applicant is an existing customer, his details can be fetched from the Customer Details Master or relevant details can be entered here.
An Application is needed before a Booking can be made. On the successful saving of application details, a sub-ledger under ‘Sundry-Debtors’ will be automatically created.
If a Quotation has been submitted to the applicant, it can be tagged here. Once an application is linked to a Quotation, the quotation details will be automatically displayed when this application matures to a Booking.
If this application is converted from an Opportunity generated through ‘Sales Force Automation’ Module, it can be tagged here.
Applicant information consists of applicant name and other personal information, Correspondence address, Communication details, Localization details like PAN and Aadhaar numbers.
One or more persons can be added as Co-applicants.
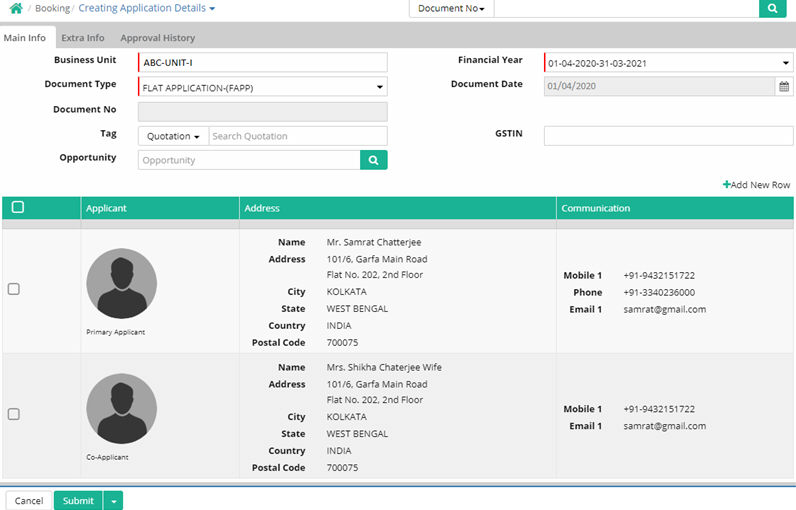
Main Info
Business Unit: Select the Business Unit for which the Application is being defined.
Financial Year: The current financial year is displayed, can be changed if needed.
Document Type: Select Document type (Type of Document - TOD). Default doctype will get displayed. More Document Type can be created from Type of Document Entry (Administration > Transactions > Company > Document Type) against ‘FLAT APPLICATION’.
Document Date: Select the Application creation date.
Document No: Document Number is auto-generated after saving the entry.
Tag Quotation: If a Quotation has been earlier given to the customer, tag it here. Once an application is linked to a Quotation, the quotation details will be automatically displayed when this application matures to a Booking.
Opportunity: User can tag an Opportunity (from SFA Module) to Application. Opportunity ID should be known to tag it here. All Opportunities will not be displayed, as Opportunity list is a sensitive document and cannot be accessed by unauthorized users.
Add New Row
Click '+Add New Row' to add applicant's details
Personal Information
Existing: Select this option if the applicant is an existing customer, i.e. whose data exists in Customer Details.
Search for a Customer by Name, Mobile, Phone or Email and PAN. Customer details like name, address, contact details, etc., will be filled automatically.

For primary applicant click on "Primary Applicant" checkbox to hide "Display Sequence No. for Co-Applicant" field.
If Existing option is selected, user can search through dropdown option. The following search options available.
Example: Search by PAN
User can search PAN by selecting the search option as PAN. The desired PAN can be searched and then selected.
Existing Customer details filled automatically as per the selected PAN
To create a New customer, do not tick the ‘Existing’ option. Details entered for a new applicant are added to the Customer Details master.
Salutation: Select salutation from the drop-down list
First Name: Enter First name of the applicant
Middle Name: Enter Middle name of the applicant if any
Last Name: Enter Last name of the applicant
Date of Birth: Enter the date of birth of the applicant
Relative: Enter the relative name of applicant (if any)
Gender: Select the gender of the applicant
Relative: Enter the relative name if any
Relative Type: Select the applicant’s relation with relative from the drop-down list
Residential Status: Select the residential status
Display Sequence No. for Co-Applicant: Select the sequence number for co-applicant
Primary Applicant: Select this option, if the applicant is the primary applicant. For primary applicant click on "Primary Applicant" checkbox to hide "Display Sequence No. for Co-Applicant" field
Relationship: In case the applicant is a co-applicant, select the relation of the co-applicant with the primary applicant from the drop-down list
PAN: Enter the primary account number of the applicant.
Aadhar No: Enter the aadhar number of the applicant if required
Religion: Religion of the applicant can be selected
Note: First Name, Last Name, Date of Birth, PAN and Gender are mandatory fields.
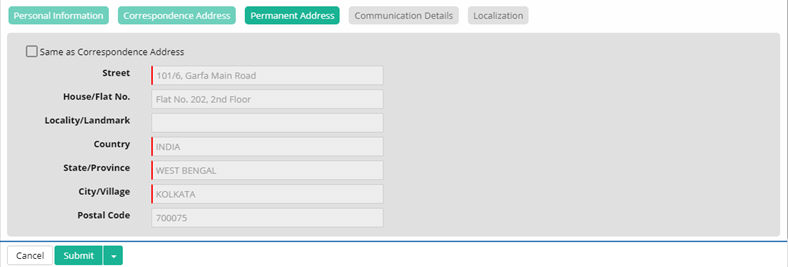
Same as Correspondence Address: Select this option, if applicant’s permanent and correspondence addresses are the same. The details given in the correspondence address will be automatically populated.
If the permanent address is different from correspondence, no need to select the option ‘Same as Correspondence Address’ and enter the permanent address details.
Correspondence Address
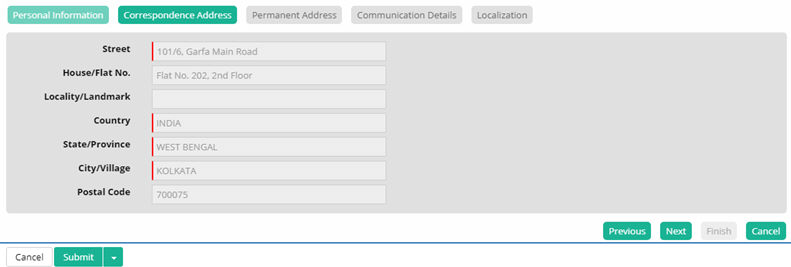
Enter the correspondence address details of the applicant.
Permanent Address
Communication Details
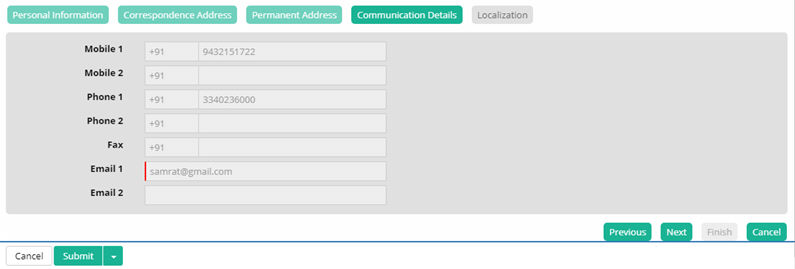
Enter the communication details of the applicant.
Localization
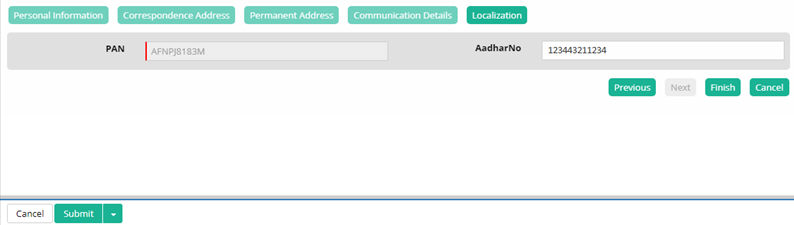
Enter details like PAN, Aadhaar or other identity document numbers which may be required for authenticating the identity of an applicant. Information fields which need to be captured here are activated through metadata UDFs. UDF # 16 has been pre-fixed for PAN. Add other UDFs for other details as required.
Click on Finish to save the selected applicant record in application details.
Follow this same process to add co-applicant details (if any). List of applicants and co-applicants will be displayed.
Extra Info
The details of the unit preferred by the applicant can be entered here.

Project Hierarchy: Project hierarchy of the selected Unit will be displayed.
Preferred Unit: If the applicant has a preferred unit while making the application, it can be specified here. By selecting a Unit here, we are just capturing an applicant’s preference for a Unit.
This unit will not be available for any other application. If the unit is booked, it is permanently removed from available units. If the application does not convert into a Booking, it has to be manually unblocked from Transactions > Pricing > Un-Block Unit.
After entering the details, click on Submit to save the Application.
![]() Tutorial: Creating Application Details
Tutorial: Creating Application Details
© Gamut Infosystems Limited