Indent
In short, indent means 'requirement of materials’. An Indent is placed just before the production of Purchase Order.
Creating an indent ensures improved cost control and budget management. By submitting an indent which outlines the materials required for a specific project, the developer can accurately estimate costs and allocate budgets accordingly. This helps in avoiding over-spending, eliminating unnecessary purchases, and ensuring that the project stays within budget constraints.
In a real estate development project, creating an indent can help the procurement team to keep track of the required materials such as construction supplies. By detailing the quantity of each item in the indent, the team can streamline the procurement process, negotiate better deals with suppliers, and maintain financial control throughout the project.
The successive steps that are usually seen in every purchasing procedure are listed as below:

Main Info
Business Unit: Select business unit
Financial Year: Financial year gets populated
Document Type: Select indent document type
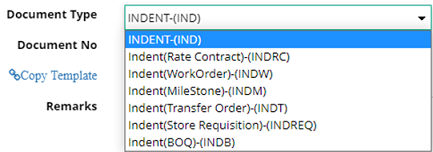
1. Indent(IND): Direct indent
2. Indent(Rate Contract)-(INDRC): Rate Contract/Price List
3. Indent(Work Order)-(INDW): Auto Indent from Engineering Module
4. Indent(Transfer Order): Transfer type Purchase Order
5. Indent(Store Requisition)-(INDREQ): Tagging Store Requisition
Document Date: Document date is by default as on date. If store requisition is tagged as doc type then document date should be equal or greater than tagged store requisition date
Document No: The document number will automatically come into view in this field after saving the entry
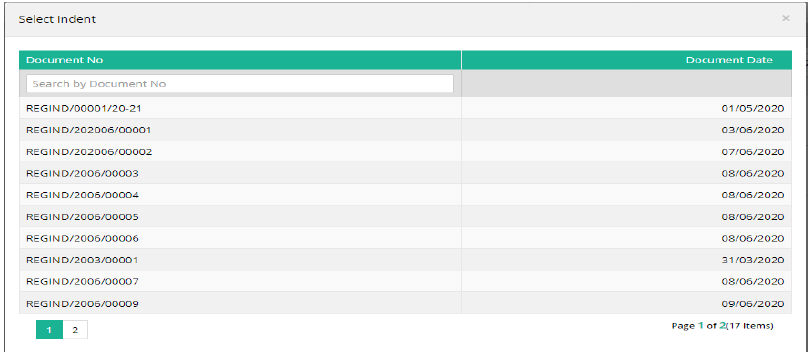
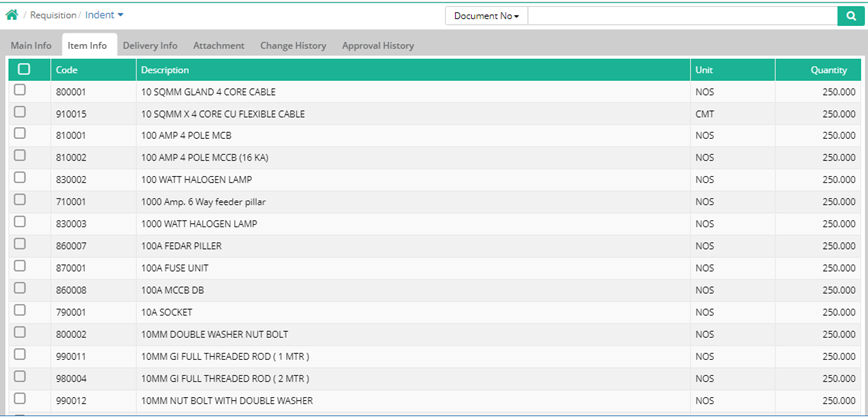
Copy Template: If details from another Indent have to be copied, click on Copy Template option. Select the indent number whose item details have to be copied. After selecting the required Indent, the item details will get automatically filled in the item tab.
Remarks: Enter remarks if any
Item Info

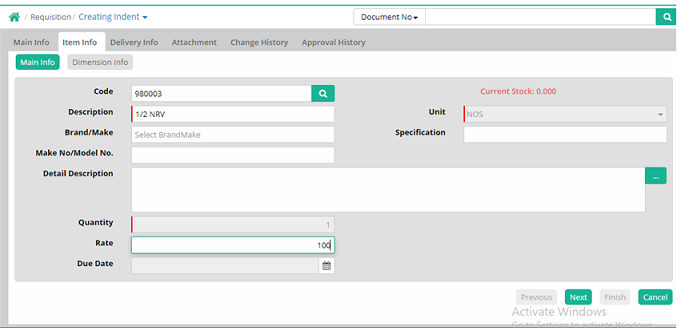
Click ‘Add New Row’ to create new record for item info.
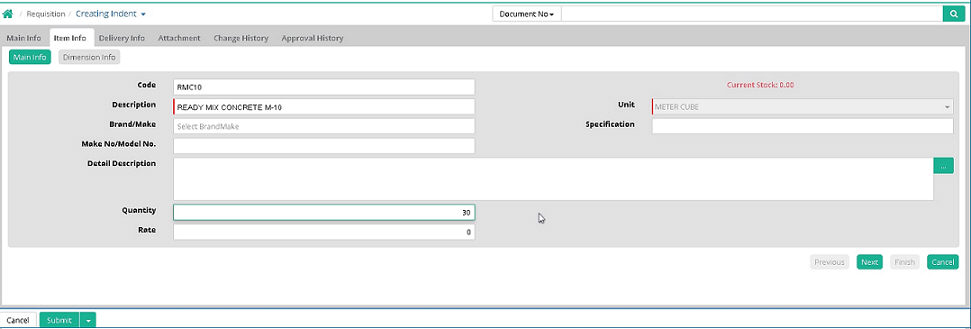
Code: Search and Enter the code. If code is entered then description and unit will be auto filled up. Example of code is "RMC10".
Description: Description and unit will come automatically. If description is searched and entered then code and unit get populated. Example of description against code "RMC10" will be "READY MIX CONCRETE M-10"
Unit: Unit gets populated
Brand/Make: Select brand/make
Specification: Enter item specification if any
Make No/Model No: Select make number or model number if any
Detail Description: Enter detail description
Quantity: Enter the quantity
Rate: Enter the rate if required
Due Date: Enter due date

Click ‘Add New Row’ to add another item.
Notes:
1. Rate contract Indent: New document type category has been introduced in Indent, Indent (Rate Contract), after using this document type quantity will be always 1.
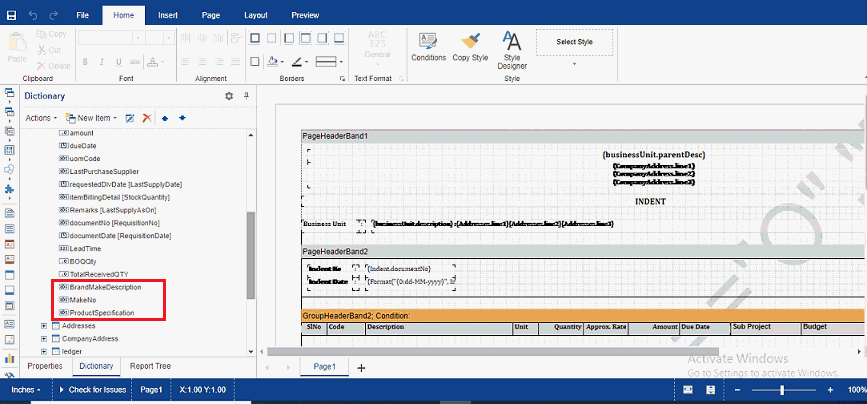
2. Brand/Make, Product Specification and Make No added in document print of Indent.
Indent import from excel option:
For downloading sample indent CLICK HERE.
To activate the Indent import process, please run sync.
Click on the advanced search
Click on the indent option & then click Import from toolbar option.

Click on download option to download the blank template.
Now fill-up the required data & start uploading.
After successful validation, please click on import option. Once import done, status will be shown as Success.

Widgets:
Below widgets are available:
Pending Indent
Indent (Delivery Delay)
Pending IND (TOD wise)

Pending Indent: This interface will show the BU wise pending (pending for purchase order) Indent documents.
Excel output: Yes

After clicked on any of the above row, document wise details will be available as shown below:

Indent (Delivery delay): This interface will give a detail of delivery delay with item wise delay days.
Excel output: Yes

Pending IND (TOD wise): This interface will give detail information regarding the type of document (TOD) wise pending indent count.

After clicked on above screen, next interface will give count BU wise

Next interface will show the pending count against any specific BU

Reports: Following reports are available
© Gamut Infosystems Limited