The ‘Receipt’ interface is used to record entry regarding payment made by the customers. The mode of payments can be through Cheque, Demand draft, Card, Cash, Net Banking, Pay Order, RTGS or NEFT or IMPS, JV (Journal Voucher) and UPI. User can make receipt entry against Application, Invoice and for any advance receipt after booking entry.
Main Info
Business Unit: Select business unit
Financial Year: It gets populated, however user can select another as per requirement
Document Type: It gets populated, however user can select another as per requirement
Document Date: It shows as on date by default. User can set another date
Document No: It is generated after the entry saved
Against: Select against booking or against application. If user wants receipt against on application then it is required to select Advance Type of Document.
Receipt Against Booking
Select against booking
Customer: Select the name of the customer (Data comes from Transaction > Booking > Customer Details)
Unit: Unit gets populated (Data comes from Setup > Unit > Unit)
Payment Mode: Select the mode of payment

Amount: Enter amount.
Note: Any amount figure from any other application like Excel can be copied and pasted in Amount field
Instrument No: Enter instrument number
Instrument Date: Enter instrument date
Drawn On: Select the name of the drawn on bank
Drawn On Branch: Enter the branch name of the drawn on bank
Account: Select the account where the amount will be deposited
Narration: Enter narration
Parent Account: It is displayed if exists
Linked Transaction: Linked Transaction field can be set as a Mandatory field in Money Receipt JV (mode) entry based on a setup in Backend against the link transaction related Account Heads.
Notes:
1. This can be activated on request from backend and in that case, client needs to provide the list of Account Head names (i.e. the A/c heads which user is choosing during the Money Receipt JV (mode) entry in the “Account” field) against which the Link Transaction will only be mandatory. The system will treat the “Link Transaction” field as a mandatory filed only when user is making the Money Receipt JV (mode) entry against those A/c heads which are there in the backend setup.
Next follow the steps described below:
Step 1: Select Business Unit, Financial Year, Document Type, Document Date, Customer Name, Payment mode (JV), enter the Amount.
Step 2: Select the Account Head name as Debit A/c Head in the “Account” filed.
Step 3: Now check that “Link Transaction” filed is showing as a mandatory field.

2. Users will be able to search any Linked Transaction by its cheque amount while making Money Receipt entry by tagging Linked Transaction.

Adjustments
Clicking on '+ Adjustments' will open the following window
Billwise Receipt
If user required to create the receipts against Bill wise then select normal type of documents
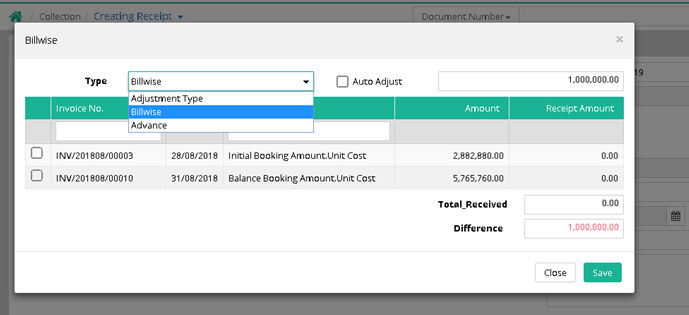
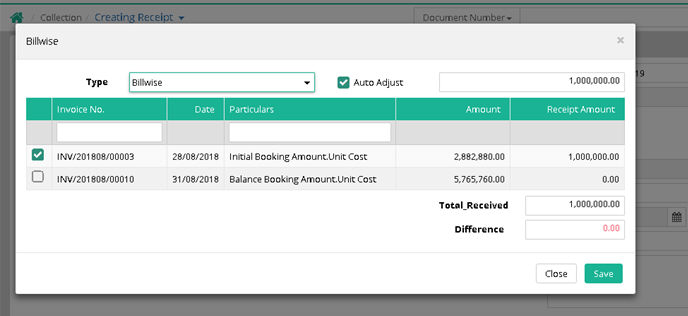
Auto Adjust: Select this box to make automatic adjustment
All invoices get selected. User can deselect the invoice (s) for which adjustment is not required and click on 'Save'.
Extra Info
If it is required to tag Housing finance company in Receipt then go to Extra Info tab and select Housing finance company name (Data comes from Setup > Project > Housing finance company)
Posting Info
Account posting information for billwise adjustment gets displayed under this tab
Advance Receipt
Select 'Document Type' as 'Advance' for advance Receipt.
Auto Adjust: Select this box for automatic adjustment
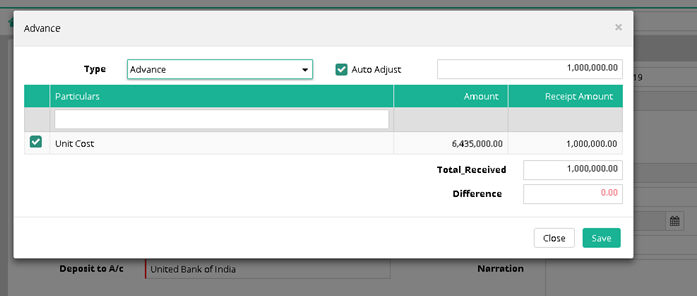
The advance gets selected. User just needs to click 'Save'.
Posting Info
Account posting information for advance get displayed under this tab
Receipt Against Application
Against: Select Application
Customer: Select the name of the customer
Payment Mode: Select the mode of payment
Amount: Enter amount
Instrument No: Enter instrument number
Instrument Date: Enter instrument date
Drawn On: Select the name of the drawn on bank
Drawn On Branch: Enter the branch name of the drawn on bank
Deposit to A/c: Select the bank where the payment is to be deposited
Narration: Enter narration
Adjustments
Clicking on '+ Adjustments' will open the following window
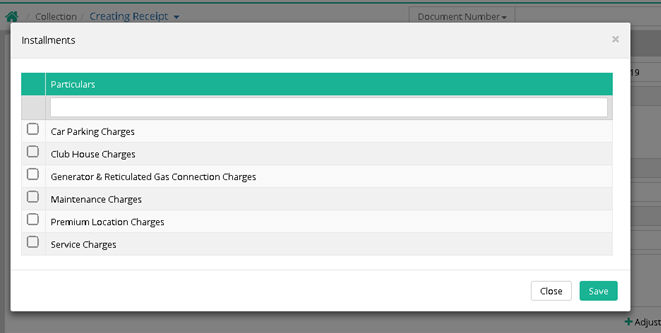
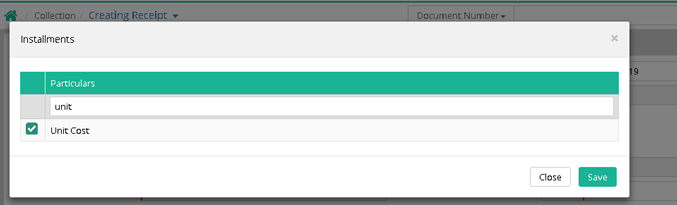
Search to select required installment and click 'Save'.
In 'Header Title' popup select the GST Code & Classification and enter receipt amount and click 'Save'
Notes:
1. Sending WhatsApp message from Advance Search
From the Advance search menu, user has to select those entries for which WhatsApp has to be sent. After selecting those records WhatsApp button has to be clicked.
One new page will appear where user has to select Provider and Template name. On selection of Provider Name and required Template, system will display the message body defined in the WhatsApp Template master. On clicking the Send button WhatsApp will be sent to the selected receiver.
In Advance Search once a user filter any data and shown in the Advance Search grid and there after zoom into the Transaction User Interface, then if the user gets back to the Advance search again the filtered data will be shown as it is.
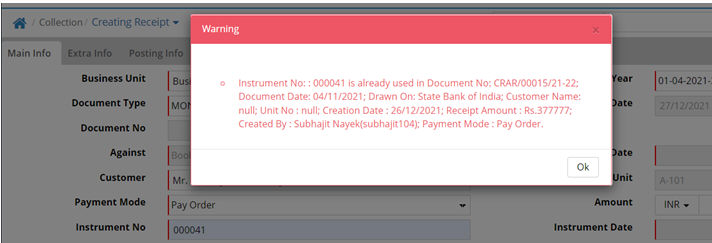
2. Duplicate Instrument Number checking option for Demand Draft, Pay Order, Net Banking, Card, RTGS/NEFT/IMPS
Step 1: Go to Collection > Receipt
Step 2: Select the business unit, Document type, Document date, Customer name, payment mode, now enter any instrument number which is already used in any other money receipt entry
Step 3: Now check the alert message shown by the system.
Sample duplicate instrument no checking Warning Message of money Receipt entry.
3. Amount will auto filled up while making Money Receipt (JV) by tagging Linked Transaction
While doing the Receipt entry (suspense adjustment) system will automatically fill up instrument no., instrument date and amount field after tagging the linked Transaction document number.
Step 1: Go to Collection > Receipt
Step 2: Select the business unit, Document type, Document date, Customer name, payment mode (JV), now select the respective A/c head for Money receipt JV entry
Step 3: Now select the Linked Transaction document number and then check that Amount field is also filling up along with instrument no and instrument date.
Sample of money Receipt entry with linked transaction

Notes:
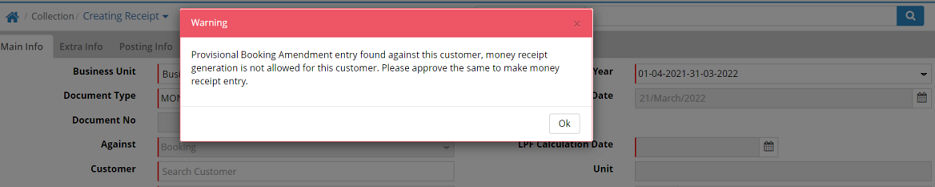
1. System will not allow to make any receipt entry against the booking if that booking is having any provisional Booking Amendment entry and showing a validation message as shown below.
2. Now System will not clear the Business Unit name while user is saving any money receipt entry. This will help the user to make continuous money receipt entry against a respective Business Unit.
View Reports of Receipts section
© Gamut Infosystems Limited